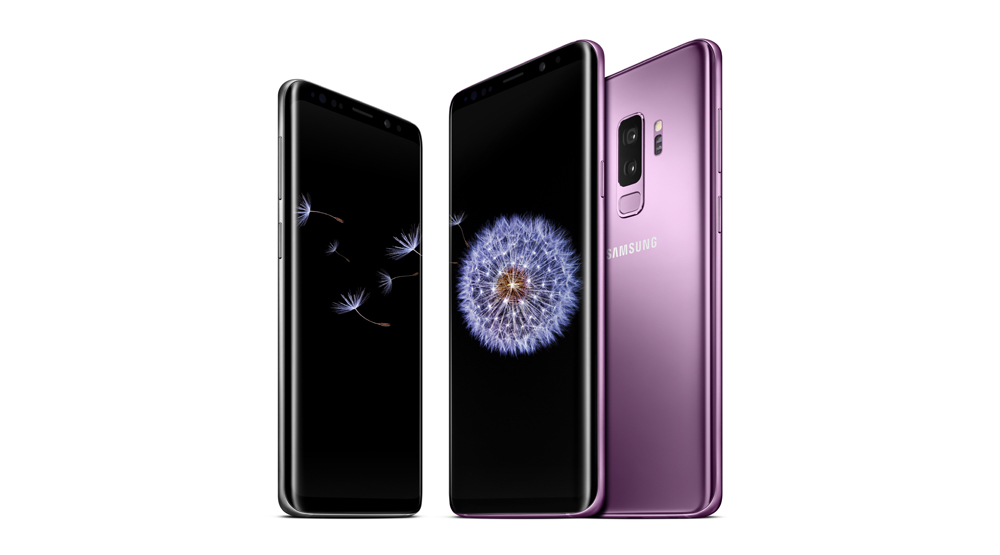
A good first way to solve many errors and problems caused by the software is to delete the cache partition. Here, data is stored that should only be temporary. Current website visits, certain application data, cookies and other things that are not intended for long-term storage but are useful in the short term are examples of cache data.
Sometimes this stored data can lead to internal conflicts, which can lead to application or operating system errors. So, if you are faced with a difficult problem, try using a Wipe Cache partition before you perform a factory reset.
The Wipe Cache partition does not require a backup. If you delete only the cache partition, your Samsung Galaxy S9 user data, such as applications and settings, will be preserved. This process only deletes data that is flagged as temporary. A Wipe Cache Partiton can be performed as follows:
Wipe Cache Partition on the Samsung Galaxy S9 and S9 Plus - That's it!

1. First switch the S9 completely off Press and hold the following keys to switch on:
- volume louder
- Bixby button
- Power On/ Off
2. An Android male with an exclamation mark should now appear. That means you can let go of the buttons.
3. It now takes about 10-40 seconds until the recovery menu of the Samsung Galaxy S9 appears.
4. Now use the Volume button of the S9 to select "Wipe Cache Partition" from the menu.
5. You open the command by tapping the "Power-Button" once. Confirm the query with "Yes" and the Wipe Cache partition will be executed on your Galaxy S9.
6. You are now back in the menu before. It is marked "Reboot System now".
7. Here you only have to press the power button once to restart the Samsung Galaxy S9.
You have now successfully created a Wipe Cache partition with your samsung Galaxy S9.

