Solvemix

Suche Spickipedia

  • Home
  • Android Smartphones
  • iOS Smartphones
  • Blackberry Smartphones

Samsung Galaxy S9 Enable developer options in Android

Details
Manuel
Android Smartphones
Year 2018

The new Samsung galaxy S9 has many features that are reserved for the advanced user but are not visible from the start within the Android system. The good news is that you can access these features by enabling developer mode on the Samsung Galaxy S9.

Developer mode offers you extensive options for your smartphone. You can change profound settings and enable USB debugging for advanced options that are invisible to normal users.

The Developer Mode option allows developers to access special debugging functions and other advanced features. All you need to do is unlock the Developer Mode menu. It is very easy to unlock this mode within the Android system on the Samsung Galaxy S9. Please proceed as follows:

Unlock developer mode for the Samsung Galaxy S9
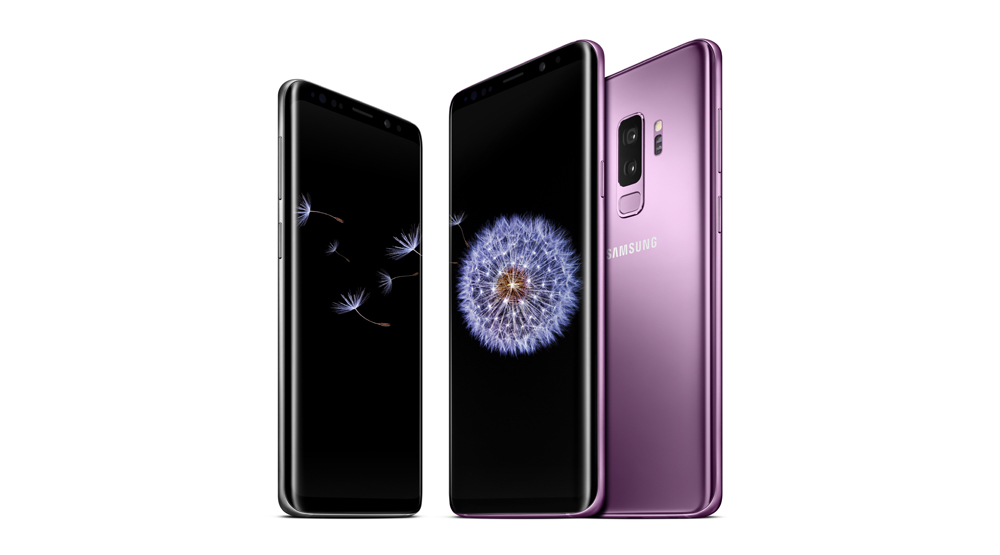
Samsung Galaxy S9

1. open the App menu and then open the Android system settings
2. scroll down until you see "Device information" - tap on the entry.
3. select "Softwareinfo" next and you will see the entry "BuildNumber" in the next submenu.
4. tap on the Buildnumber entry several times until you see the message "Developer Options Enabled".

A new option appears in the list of your normal settings. Tap on it and you will get to the Developer menu, which was previously unavailable. Browse through the settings available in Developer mode and you will see settings such as the animation function, which you can reduce from the default setting of 1x to 0.5x to increase your phone's processing speed.

The mode also offers many other nice ways to customize your phone even more.

Samsung Galaxy S9 How to perform a Wipe Cache partition - Soved

Details
Manuel
Solvemix

A good first way to solve many errors and problems caused by the software is to delete the cache partition. Here, data is stored that should only be temporary. Current website visits, certain application data, cookies and other things that are not intended for long-term storage but are useful in the short term are examples of cache data.

Sometimes this stored data can lead to internal conflicts, which can lead to application or operating system errors. So, if you are faced with a difficult problem, try using a Wipe Cache partition before you perform a factory reset.

The Wipe Cache partition does not require a backup. If you delete only the cache partition, your Samsung Galaxy S9 user data, such as applications and settings, will be preserved. This process only deletes data that is flagged as temporary. A Wipe Cache Partiton can be performed as follows:

Wipe Cache Partition on the Samsung Galaxy S9 and S9 Plus - That's it!

Samsung Galaxy S9

1. First switch the S9 completely off Press and hold the following keys to switch on:

  • volume louder
  • Bixby button
  • Power On/ Off

2. An Android male with an exclamation mark should now appear. That means you can let go of the buttons.

3. It now takes about 10-40 seconds until the recovery menu of the Samsung Galaxy S9 appears.

4. Now use the Volume button of the S9 to select "Wipe Cache Partition" from the menu.

5. You open the command by tapping the "Power-Button" once. Confirm the query with "Yes" and the Wipe Cache partition will be executed on your Galaxy S9.

6. You are now back in the menu before. It is marked "Reboot System now".

7. Here you only have to press the power button once to restart the Samsung Galaxy S9.

You have now successfully created a Wipe Cache partition with your samsung Galaxy S9.

Samsung Galaxy S9 Add and remove widgets - Tip

Details
Manuel
Android Smartphones
Year 2018

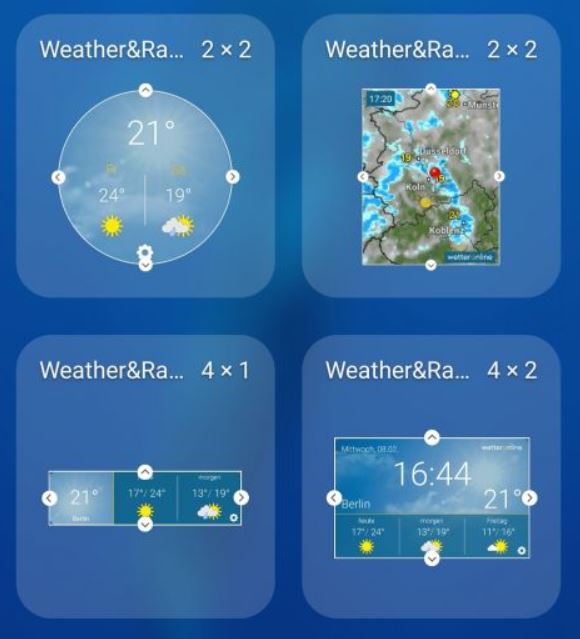
Widgets are nothing more than simple application enhancements, usually part of a more complex application installed on your Samsung Galaxy S9 or Galaxy S9 Plus. These widgets come as smaller or larger icons that you can drag, edit and remove on the home screen.

In this short tutorial we will show you the exact steps to add or remove widgets on the Galaxy S9 and Galaxy S9 Plus.

How to add a widget to the Samsung Galaxy S9 start screen

Samsung Galaxy S9

1. To add a widget, press and hold with one finger on a free area of the home screen.

2. The latter will now contract and reveal a menu bar.

3. Select "Widgets" in this window. You can now scroll through the various widgets currently available on the Samsung Galaxy S9.

4. To place the widget, press and hold your finger on it for a long time until the widget is lifted and placed on the home screen.

5. Do not remove the finger from the display until you have finished placing the widget.

You have now successfully added a widget to the Samsung Galaxy S9 home screen.

To delete a widget from the Samsung Galaxy S9 home screen, proceed as follows

Delete Widget

To delete a widget, simply hold the widget down with your finger until a small pop-up opens. You will see the option "Remove from home screen". Touch the entry and the widget will be removed from the home screen of the S9.

Samsung Galaxy S9 Suppress call number and do not display it

Details
Manuel
Android Smartphones
Year 2018

With your Samsung Galaxy S9, you can decide whether or not to hide your own phone number when you call someone. This ensures that the person receiving your call will not be able to see your phone number and name. This is called number suppression.

How to suppress your own phone number in the Samsung Galaxy S9 and S9 Plus, we explain this here:

Samsung Galaxy S9/S9+ Enable number suppression

Samsung Galaxy S9

1. Samsung Galaxy S9 Suppress phone number

2. Open the phone app on your S8 and then open the settings by tapping on the icon with the three dots in the upper right corner.

3. Now scroll down and select "Additional settings".

4. The first entry reads:"Show your own number". Stand by option: Hide your own number - Samsung Galaxy S8

5. Now select "Hide number". Ready!

If you now call a contact with your Samsung Galaxy S9, your name or telephone number will no longer appear on it, but only "private" or "unknown". Your own phone number can therefore no longer be viewed. Note that when sending text messages, your caller identification is not hidden.

Please also note that many smartphones have the ability to block unknown phone numbers.

If the person or contact you are calling has "Block unknown numbers" enabled on his or her phone, you will not be able to reach them.

Samsung Galaxy S9: Which SIM card do I need?

Details
Manuel
Android Smartphones
Year 2018

If you have ordered the Samsung Galaxy S9, you will receive the device from a contract extension or if you want to buy it in the shop, please check whether your currently used Sim card also fits into the Sim card slot of the S9 or the S9 Plus. Why is this question important?

If you have an older Sim card in standard or micro format, it doesn't fit!

This Sim card format uses the Samsung Galaxy S9

Samsung Galaxy S9

Because the Samsung Galaxy S9 uses a sim card slot, in which only one Nano Sim card fits. If you still have an older SIM card format, you will have to convert the SIM card into a nano format or order it from your mobile phone provider:

How to get a Nano Sim card:


Sim card punching

You can also purchase a Sim card punch or "punch". This can then be used to create a Nano Sim card from a standard or micro sim card using a template. This is easy and inexpensive.

Such Sim card punchers are available on Amazon for example.


Use perforation, if available

Sim Card

Many Sim cards that are in circulation have a perforation that makes it easy to push a Nano Sim card out of the existing one. If you have such a card, just press the Nano Sim card and insert it into your smartphone.

Request Nano Sim from mobile phone provider

Another possibility is to request a new SIM card from your mobile operator. This is usually associated with costs around 20-25$. The shipping of the Sim Card is fast and you will receive the card usually within 3 working days.

Samsung Galaxy S9 How do I make a screenshot? Solved!

Details
Manuel
Android Smartphones
Year 2018

Knowing how to take a screenshot on the Galaxy S9 can make everyday life a little easier for you. This function saves the displayed display content in an image file. That's why the screenshot is also called screenshot.

For a screenshot of the Samsung Galaxy S9 there are several possibilities, which we would like to explain to you in more detail below:

Samsung Galaxy S9: Creating a screenshot - here's how it works

Samsung Galaxy S9

Method 1: To take a screenshot using the hotkey combination

Display the application or screen content you want to capture. Press and hold the following keys for about 2 seconds:

  • Volume button Quiet
  • On/Off button

You should now hear the shutter sound of the camera together with a short, flashing animation. This means that the screenshot was successful.

Method 2: Create screenshot by wiping

Samsung has added another cool feature to its smartphones for taking screenshots. Wiping via the display. And this works as follows:

  • Tilt your hand a little to the side so that your thumb is pointing away from the screen.
  • Brush your entire hand over the screen from left to right.

As with the other method, you will hear the shutter sound and see a short animation on the screen.

This method is enabled by default, but you can disable it in the settings,

1. Go to the Settings menu.

2. Scroll down to Advanced Features and select Screenshot.

3. Deactivate the switch or activate it

Tip: How to take a continuous screenshot on the Samsung Galaxy S9

Sometimes you need to record more than just what you see on the screen. The good news is that you don't have to take multiple screenshots with the Samsung Galaxy S9. Instead, you can simply take a scrolling screenshot and take a long screenshot!

  1. Take a screenshot as before.
  2. Tap the "Scroll Capture"option to scroll down and record more in the screenshot.
  3. Tap until you have captured what you need, or until the end of the page.

You can now see all the screenshots you took with the Samsung galaxy S9 in the Gallery application, Samsung's built-in file browser or Google Photos.

Xiaomi Mi5 Create a screenshot - Tip

Details
Manuel
Android Smartphones
Year 2018

The Xiaomi Mi5 is a nice and inexpensive "China phone" and may have been purchased from you. If so, then you might also want to know how to take a screenshot on the Xiaomi Mi5. A screenshot can be taken using the smartphone's keyboard shortcut. Our instructions explain step by step how to do this:

Create a screenshot on the Xiaomi Mi5:

Display on the screen what you would like to have saved within the screenshot.

Press the following key combination:

  • Power Button
  • Volume soft button

Press and hold the key combination for 2 seconds.

The screenshot is now created on the Xiaomi Mi5 and you can find it in your gallery. You now know the procedure for taking a screenshot.


Samsung Galaxy Note 8 Screen Resolution Change - Solved

Details
Manuel
Android Smartphones
Year 2018

The Samsung Galaxy Note 8 comes with a high-resolution Infinity display and offers the best picture quality. However, the highest resolution of the display is not necessary in everyday life. Furthermore, a little battery power can be saved by reducing the screen resolution of the Samsung Galaxy Note 8. For this reason, we would like to show you how to change the screen resolution on Samsung Galaxy Note 8:

To do this, please navigate from the home screen to the Android App menu and from there to "Preferences". Continue as follows:

Display --> screen resolution

Here you can see a slider to adjust the display resolution. You have a choice:

  • HD+
  • FHD+
  • WQHD+

Set the check mark at the resolution you want to use. The lower the setting, the more battery power is saved.

You now know how to change the screen resolution of Samsung Galaxy Note 8 in Android.


TomTom Navi Firmware Update - Instructions

Details
Manuel
Android Smartphones
Year 2018

If you have a TomTom Navi from the series Via or Go, you might want to update the firmware for this. To do this, you must connect the navigation device to a computer and update the device accordingly. We would like to tell you more about how this works in detail:

It is best to update the TomTom Navi software using MyDrive Connect (device must be supported):

First, download the MyDrive Connect software and install it on your PC.

  • Download MyDrive Connect
  1. If not already done, create an Acoount. This is necessary for the update.
  2. Connect your TomTom navigation system to the PC
  3. The just installed software should now automatically detect the navigation system

Now navigate in the MyDrive Connect software to "My Content" and then to "Update".

If available, the latest software for the TomTom Navi will now be installed via MyDrive Connect.

You have just successfully installed a firmware update on the TomTom Navi and are therefore up to date.


Samsung Galaxy Note 8 Moisture Detected - Checking the Port

Details
Manuel
Android Smartphones
Year 2018

Your Samsung Galaxy Note 8 may display an error when you connect the phone to a USB Type C charger. The message reads as follows: "Check port moisture detected. To charge your device, make sure your charger/USB port is dry".

We explain what this means and what you can do about it.

The message appears when moisture has been detected. This can be the case, for example, after contact with water, but sweat or high humidity such as in the bathroom can also be the cause. But don't panic! Usually the problem can be solved quickly if you use one of the following two tips:

Tip 1: Disconnect the smartphone charger cable - reconnect

Disconnects the charger cable from the USB Type C connector of the Samsung Galaxy Note 8 and reconnects it. This often helps to fix the problem. If not, continue with tip 2.

Tip 2: Dry USB port of Samsung Galaxy Note 8

In the simple version, blow several times into the connection. Best slowly and evenly. If that doesn't help, a hairdryer will do the trick. Set it to cold air and point the air current at the USB Type C connector of your Samsung Galaxy Note 8, then the error message "Check the port" should no longer be displayed when you connect the device to the charger cable.


More Articles ...

  1. Samsung Galaxy S8 That means SMART in the caller list
  2. Android endoscope camera does not work - resolved
  3. Resetting Nokia 8 to factory defaults - How to use Nokia 8
  4. Samsung Galaxy S8 Disable automatic backup in Cloud - Solved
  5. iOS 11 Move Contacts to iCloud - tip for iPhone and iPad
  6. Samsung Galaxy S8 Backup - Getting Started
  7. Samsung Galaxy S8 Pin, Forgot password or pattern - Tip
  8. SM Bus-Controller What is this? Explanation!
  9. Move Samsung Galaxy Note 8 Transfer App data to memory card
  10. Samsung Galaxy S8 can also be used in salt water? Tip!
Page 117 of 317
  • Start
  • Prev
  • 112
  • 113
  • 114
  • 115
  • 116
  • 117
  • 118
  • 119
  • 120
  • 121
  • Next
  • End


  1. You are here:  
  2. Home

Imprint

Privacy Policy

Privacy and Terms of Google

Sitemap